This section will guide you on how to install and remove the safety components found within the track system. This includes the end stops, safety bolt and end caps.
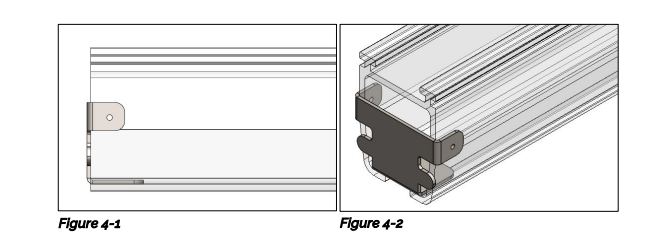
A pre-installed track system should already have these components installed. A track system should never be left without the safety components being installed.
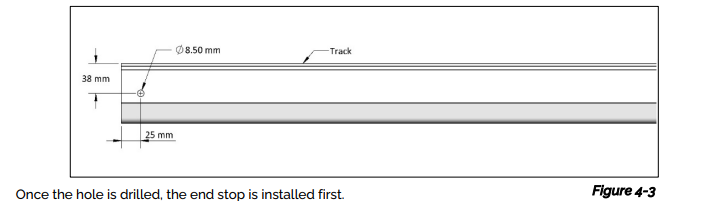
To install the safety bolt, a through hole should be drilled through the track profile. A hole position template should be available. Position the template side face against the edge of the track and flush against the inside of the bottom of the track, this will align the hole position. See images below for reference.
If the template is not available, see the drawings below for hole position.
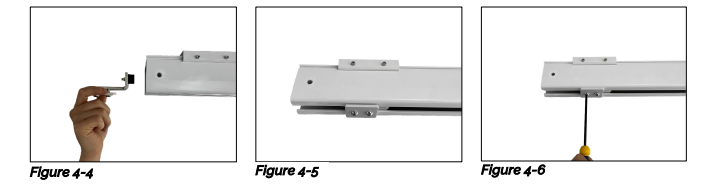
Slide the end stop into the track with the bumper facing inward. The end stop can be secured by clamping the end stop together within the track. This is done using a 5mm Allen Key on the two bolts. The end stop should be secured close to the end of the track system, but leaving enough space for the safety bolt behind.
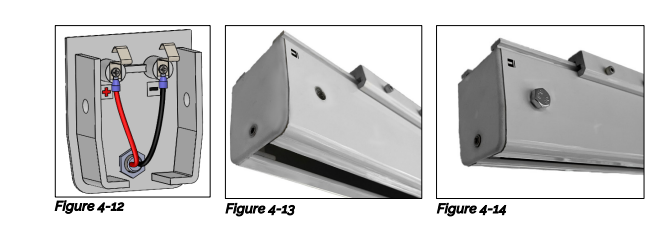
Once the end stop is secured, the safety bolt and end cap can be fitted. Place the rubber bumper inside the track, aligning it with the drilled hole and place the given bolt through the track and bumper and secure at the other end with the nut. This is done using two 13mm combination spanners. The end cap is push fitted into the track profile as shown below.
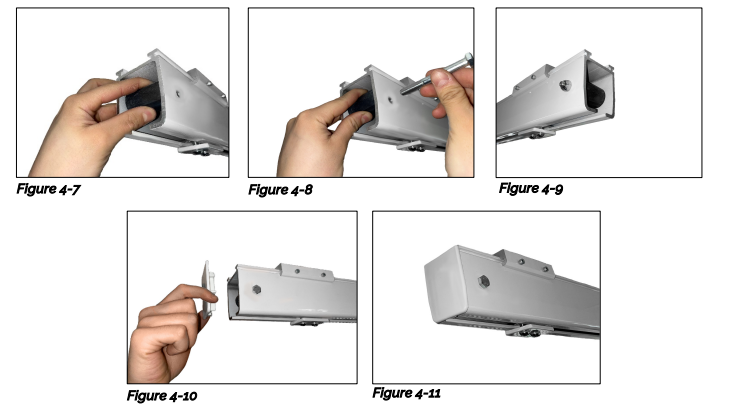
For constant charge track systems, a variant end cap is used, fitted with contact terminals which contact the charge strips on the inside of the track, the end cap is push-fitted into the track profile as normal, but is secured in place with the safety bolt as shown, the safety bolt is not fitted with a rubber bumper as it’s not required.
Note: Old style constant charge follows the same method as the standard end cap. See above for details.